I saw this idea on Inspiring Creations and just knew that I needed one for myself. It's a little bunny pot/candy jar.
For the ears, I sewed fusible fleece in between two layers of white cotton and appliqued the patterned fabric on top. Then snipped around the edges and ran my fingernail over it to help it fray more. I just used hot glue to attach the ears to the pot.
Here he is doing his rightful duty of holding candy.
Doesn't he look so cute next my to egg topiary?!
Pages
▼
Thursday, March 31, 2011
Wednesday, March 30, 2011
Egg decor - part 2
You've met the Egg Wreath...now meet her sister, the Egg Topiary!
I LOVE IT!!! I've never seen a topiary quite like this. The eggs are made of styrofoam and were intended to be used as ornaments. I got them at the Dollar Tree *last year* and they don't have them this year, but they have something similar. I think the mini glitter egg picks would work just fine.

source: Dollartree.com
All I did was rip out the piece of ribbon that was the hanger and then cut the eggs in half with a serrated knife. Then I glued them to a foam ball and glued some Easter grass in the gaps and plopped it in a painted pot.
*moment of truth* It actually sat like this for a few weeks and Madie carried it around like it was a princess wand. And the back half of the ball still looks like this (I got sick of working with the grass).
It's colorful, it's glittery and it goes well with my wreath. Smile.
I LOVE IT!!! I've never seen a topiary quite like this. The eggs are made of styrofoam and were intended to be used as ornaments. I got them at the Dollar Tree *last year* and they don't have them this year, but they have something similar. I think the mini glitter egg picks would work just fine.

source: Dollartree.com
All I did was rip out the piece of ribbon that was the hanger and then cut the eggs in half with a serrated knife. Then I glued them to a foam ball and glued some Easter grass in the gaps and plopped it in a painted pot.
*moment of truth* It actually sat like this for a few weeks and Madie carried it around like it was a princess wand. And the back half of the ball still looks like this (I got sick of working with the grass).
It's colorful, it's glittery and it goes well with my wreath. Smile.
Tuesday, March 29, 2011
Egg decor - part 1
I love this egg wreath! I've been wanting one for over a year (I even bought all of the supplies last year but never got around to making it). I recently starting hosting a craft night for the ladies at my church and decided that March seemed like the perfect month for a wreath. I was really hoping to make this wreath, but the majority decided otherwise. So I finally decided to just make it for myself.
There are several tutorials floating around blogland, This is My Life... is the one that I used as a reference.
For some reason I find it extremely difficult to take good pictures of things on this mantel, which is odd to me given how much natural light pours into that room. Anyway, this was a cheap, fast & super easy craft (although the grass makes quite a mess)...and it makes me happy!
Thursday, March 17, 2011
Clocks By Staci giveaway winner!
Congrats to number 28 - Lauren @ Young Nester!
Now I'm off to Sea World & the beach...be back in a few days!
Tuesday, March 15, 2011
Burlap And Blue Winner!!!
And the winner of the $10 shop credit to Burlap and Blue is...
True Random Number Generator 6Powered by RANDOM.OR
Jaime @ I'm a Mom not a Professional!
Congrats Jaime!
Monday, March 14, 2011
Clay Pot Leprechaun
How cute is this little guy!?! He was super easy to make. I used three different sized clay pots, acrylic paint, felt, ribbon, paper, a sharpie, some googly eyes and hot glue.
Here you can see his cute little felt arms and hands, along with his ribbon belt and paper belt buckle.
And what's a leprechaun without a pot of gold (or yellow pom poms)? Do you like his freckels? I do.
He was so much fun to make and Madie enjoyed helping me paint the pots. We don't really do anything for St. Patrick's Day, but I enjoy looking over at the mantel and seeing him and the felt shamrock garland I made a few weeks ago.
Thursday, March 10, 2011
Another Giveaway - Clocks by Staci
Click here for the BurlapAndBlue giveaway.
-----------------------------------------------------------------------------
I told you guys that I had another giveaway lined up in celebration of reaching over 100 followers - enter Staci!
Staci blogs over at Craftify It where you will see some amazing things, like her home renovations, such as this breakfast nook.
Before:

After:

And how stinkin' cute are these beadboard key racks!?

Not only does Staci have an awesome blog, she also makes custom clocks which you can find at Clocks by Staci.
Here are a few of my favorites:
I love the simplicity of this framed beadboard clock.


Staci is so clever, she actually used a toy monster truck to created the tire tracks on this clock!

What's not to love about this one...pink & green & polka dots...sigh.

Freakin' awesome - chalkboard clock!!!

![[baseballclock1.jpg]](https://blogger.googleusercontent.com/img/b/R29vZ2xl/AVvXsEgILlPBn58X-z6Aq5SkEgrZeDmXPozb1WcMn8EYNsCcxRONe_1NZkJgWUZw1oNwuE2H1jnm7NTThYOYbhZbqT5_8O942601cbWSoMuqOFzrbFeB-gCybE2MaSZVmOgzlY_JaemPPhymrTvF/s280/baseballclock1.jpg)
I love the idea of using vinyl to put the clock right onto your wall!
![[aclock5.jpg]](https://blogger.googleusercontent.com/img/b/R29vZ2xl/AVvXsEhMGpasR_hWcEC3bZSQ97S8ryfb2NYOmfTyNBGyTCGZqR00VjUgxbSrS8XbIdDpiROi2OBWmzjrbQKA7JIvbosd3Mctfr4aNIVbeon6LLpMI45byTLSjR_5I3lVThFVUQRCtFG7i_4iFB5Q/s320/aclock5.jpg)
These tin tile clocks are gorgeous.

I think this is probably my favorite of all of Staci's clocks. But then again, I'm a sucker for black & white and damask.
![[damaskclock.jpg]](https://blogger.googleusercontent.com/img/b/R29vZ2xl/AVvXsEiB7cTO131saoZ39tEmJ-owEAofQ7J7GcLiwDnHc9qZwDsFxGx0Soeq1FLRgRiqQbSW5nw5bYZ9Hl2LIyaNn2EFTuqz0UKzUTyFYD7LazmF9vpc6tv3xF9iWKXk89tsDBUFdRxf9dGqcWNr/s320/damaskclock.jpg)
Now that you've seen the loveliness that Staci can create, want to know what's up for grabs??? A $25 credit towards a custom clock of your choice!
Here's how to enter:
- Visit Clocks by Staci and then come back here and let me know what speaks to you.
Want some additional entries?
- Follow Ashley's Craft Corner (1 extra entry)
- Follow Staci at Craftify It (1 extra entry)
*make sure to leave your email address in your comment/s if it is not attached to your profile
*leave a separate comment for each entry
This giveaway will close on Wednesday March 16th @ 11:59 pm (MST). The winner will be announced on Thursday the 17th.
-----------------------------------------------------------------------------
I told you guys that I had another giveaway lined up in celebration of reaching over 100 followers - enter Staci!
Staci blogs over at Craftify It where you will see some amazing things, like her home renovations, such as this breakfast nook.
Before:

After:

And how stinkin' cute are these beadboard key racks!?

Not only does Staci have an awesome blog, she also makes custom clocks which you can find at Clocks by Staci.
Here are a few of my favorites:
I love the simplicity of this framed beadboard clock.


Staci is so clever, she actually used a toy monster truck to created the tire tracks on this clock!

What's not to love about this one...pink & green & polka dots...sigh.

Freakin' awesome - chalkboard clock!!!

![[baseballclock1.jpg]](https://blogger.googleusercontent.com/img/b/R29vZ2xl/AVvXsEgILlPBn58X-z6Aq5SkEgrZeDmXPozb1WcMn8EYNsCcxRONe_1NZkJgWUZw1oNwuE2H1jnm7NTThYOYbhZbqT5_8O942601cbWSoMuqOFzrbFeB-gCybE2MaSZVmOgzlY_JaemPPhymrTvF/s280/baseballclock1.jpg)
I love the idea of using vinyl to put the clock right onto your wall!
![[aclock5.jpg]](https://blogger.googleusercontent.com/img/b/R29vZ2xl/AVvXsEhMGpasR_hWcEC3bZSQ97S8ryfb2NYOmfTyNBGyTCGZqR00VjUgxbSrS8XbIdDpiROi2OBWmzjrbQKA7JIvbosd3Mctfr4aNIVbeon6LLpMI45byTLSjR_5I3lVThFVUQRCtFG7i_4iFB5Q/s320/aclock5.jpg)
These tin tile clocks are gorgeous.

I think this is probably my favorite of all of Staci's clocks. But then again, I'm a sucker for black & white and damask.
![[damaskclock.jpg]](https://blogger.googleusercontent.com/img/b/R29vZ2xl/AVvXsEiB7cTO131saoZ39tEmJ-owEAofQ7J7GcLiwDnHc9qZwDsFxGx0Soeq1FLRgRiqQbSW5nw5bYZ9Hl2LIyaNn2EFTuqz0UKzUTyFYD7LazmF9vpc6tv3xF9iWKXk89tsDBUFdRxf9dGqcWNr/s320/damaskclock.jpg)
Now that you've seen the loveliness that Staci can create, want to know what's up for grabs??? A $25 credit towards a custom clock of your choice!
Here's how to enter:
- Visit Clocks by Staci and then come back here and let me know what speaks to you.
Want some additional entries?
- Follow Ashley's Craft Corner (1 extra entry)
- Follow Staci at Craftify It (1 extra entry)
*make sure to leave your email address in your comment/s if it is not attached to your profile
*leave a separate comment for each entry
This giveaway will close on Wednesday March 16th @ 11:59 pm (MST). The winner will be announced on Thursday the 17th.
Wednesday, March 9, 2011
Painted Flower Hair Clips
Looking for the BurlapAndBlue Giveaway? Click here (or scroll down).
---------------------------------------------------------------------------------------
Here is the awesome tutorial I posted over at Keeping it Simple and Gluesticks (in case you missed it)!
---------------------------------------------------------------------------------------
Here is the awesome tutorial I posted over at Keeping it Simple and Gluesticks (in case you missed it)!
I love making bows and flowers for my daughter's hair (really, that kid has over 70 hair clips...most of which I've made). I especially love making things that match her clothes. I'd been taking white flowers from the dollar store and giving them colored centers to coordinate with her outfits, when one day I had an epiphany. Why not paint the flowers!? So I did!
I'll show you how to go from this...

...to this!
I'll show you how to go from this...

...to this!
For this project you'll need:
- White "silk" flowers (I get mine at the dollar store)
- Acrylic paint
- Paint brush (I generally use foam brushes because they are dirt cheap)
- Hot glue
- Jewel or glitter for the center (optional)
- Iron & ironing board (optional)
I usually try to get Daises, but you could probably use just about any faux flowers. Here are what mine looked like for this go round.
Here is a side view of the bunch. This particular group came with 12 flowers.1. Disassemble the flowers and separate the layers by size. Each flower was double layered but there were three different sizes of petals. I like a three layered flower, so from this 12 flower bunch I actually ended up with 8 flowers.
2. Iron the flowers flat. You don't have to do this, but it gives a much nicer look. Just make sure your iron isn't too hot.
See the difference? Ironed on the left, not ironed on the right.
3. Paint! This is a great time for letting those little hands help out. Some colors (generally darker ones) will need a second coat once the first one dries. I recommend painting on a non-stick surface of some sort, or moving the flowers before they dry completely so they don't stick to the paper underneath...because they will stick to the paper underneath!
4. Once dry, assemble. Starting with the largest flower, put some hot glue around the center.
Now put the middle layer on top of the bottom, making sure to keep your fingers away from the little hole in the center (the glue will ooze out through that opening).
Continue with each layer until you are satisfied with the look.
5. Glue the newly assembly flower to a clip (I use alligator clips lined with ribbon)
6. Add a center to the flower. I like jewels and glitter, but you could just use the center that came with the flower.
For a glittered center, put a blob of hot glue right in the middle, like so. The rounder the better, but don't stress about it.
Then just sprinkle the glitter on top. Let it sit for a minute or two before you shake off the excess, so that the glue can firm up.
See how sparkly?!
Look at how perfectly it matches her dress! That's not photoshopped or anything. It really does match that well!
How about a few variations...
1. Super sparkle flower - just sprinkle the glitter onto the flower while the paint is still wet.
2. You can coat the flower in Mod Podge for a shiny finish. And yes, that is a black flower.
FYI - I've found that the Mod Podge doesn't hold up well on a flower being worn by a small child. Case in point - all that nasty cracking near the center.
Want a few more examples of flowers with their matching outfits? Ok.
Now take your new knowledge and whip up some super awesome customized flower clips...just beware, this is kind of addicting!
I'd love to see your version if you make some!
I'd love to see your version if you make some!
Tuesday, March 8, 2011
100+ Followers = Giveaway time!!!
So I am thrilled (and shocked) beyond words that there are over 100 people who follow my little blog. I did a little happy dance when I saw that. And since it made me so happy I thought it would be a good idea to spread the happiness to you! I'm sure you know what that means...it's GIVEAWAY time! Hooray!
I have a couple of giveaways lined up for this week, so make sure you keep checking back.
Today's giveaway is being brought to you by the lovely Linda from Burlap+Blue. Have you been there? No? Well I'll give you a little taste of what you'll find.
First up is this lovely dresser transformation

and then there is this super easy inspiration board

You'll also find home decor inspiration and etsy finds. Speaking of etsy...Linda also has an etsy shop - BurlapAndBlue and she has so kindly offered a $10 gift certificate to her shop to one of you! I'm a little jealous (ok...a lot jealous). So what will $10 get you from BurlapAndBlue (click pics to be taken to listing)?
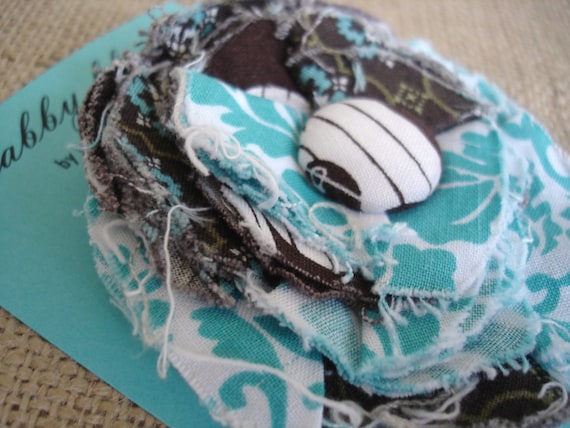
fabric flower pins

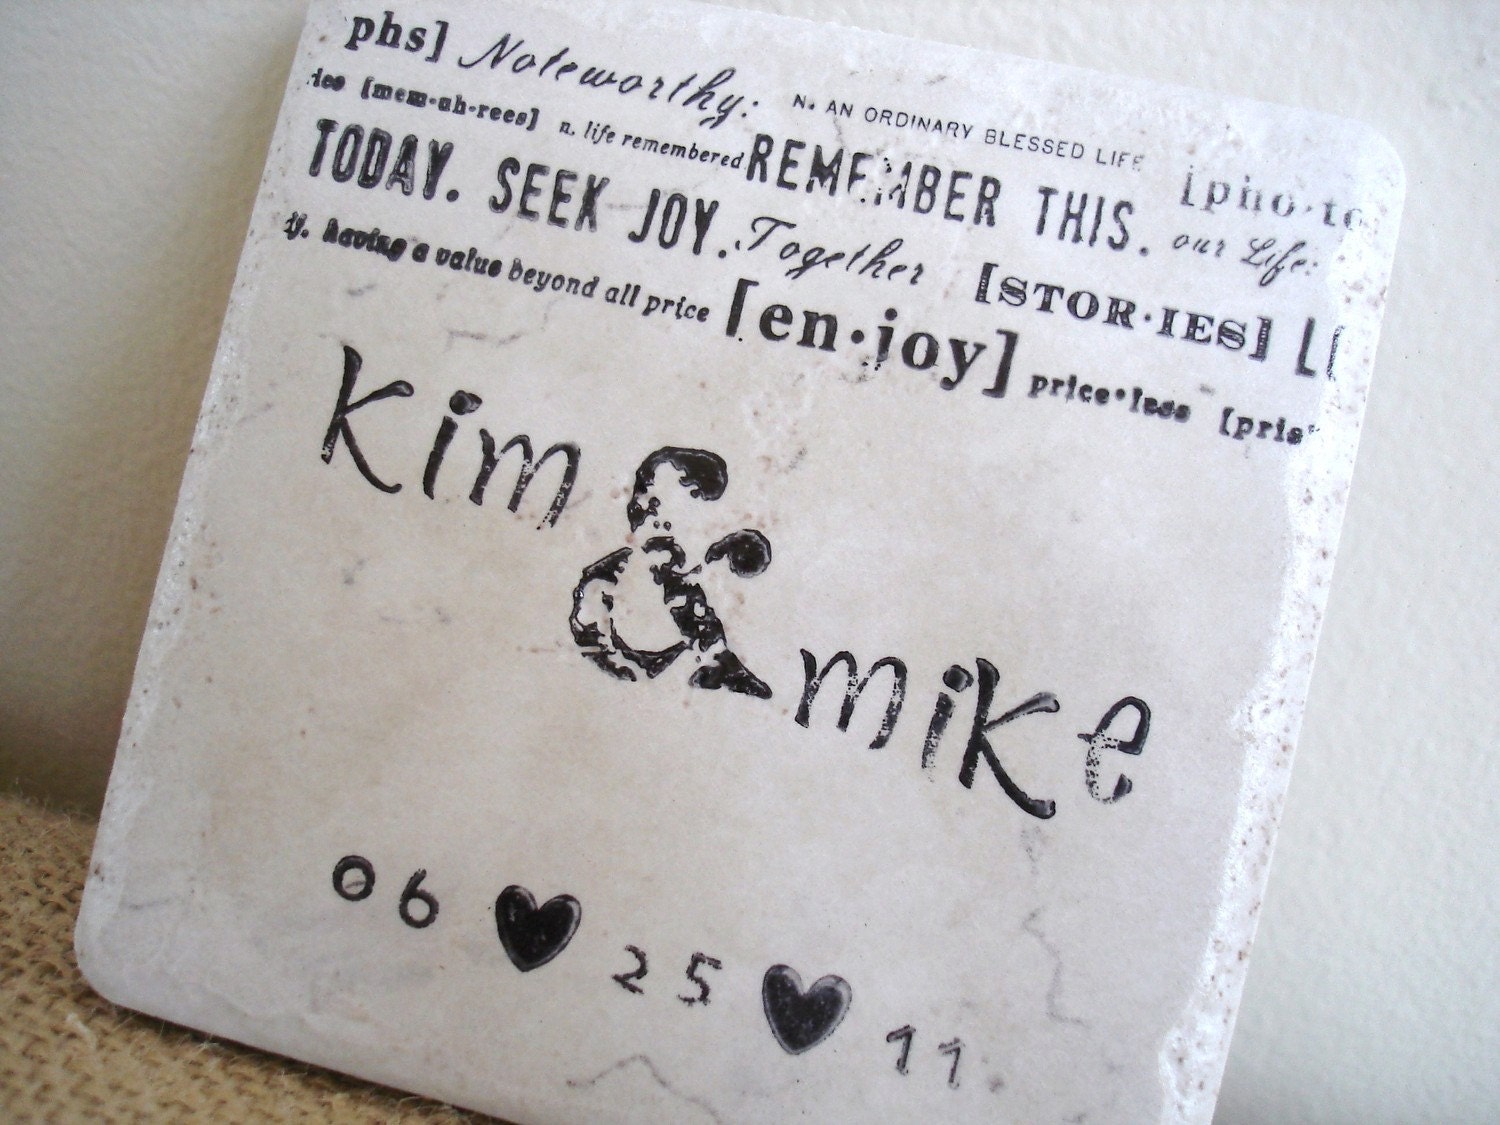
personalized coasters
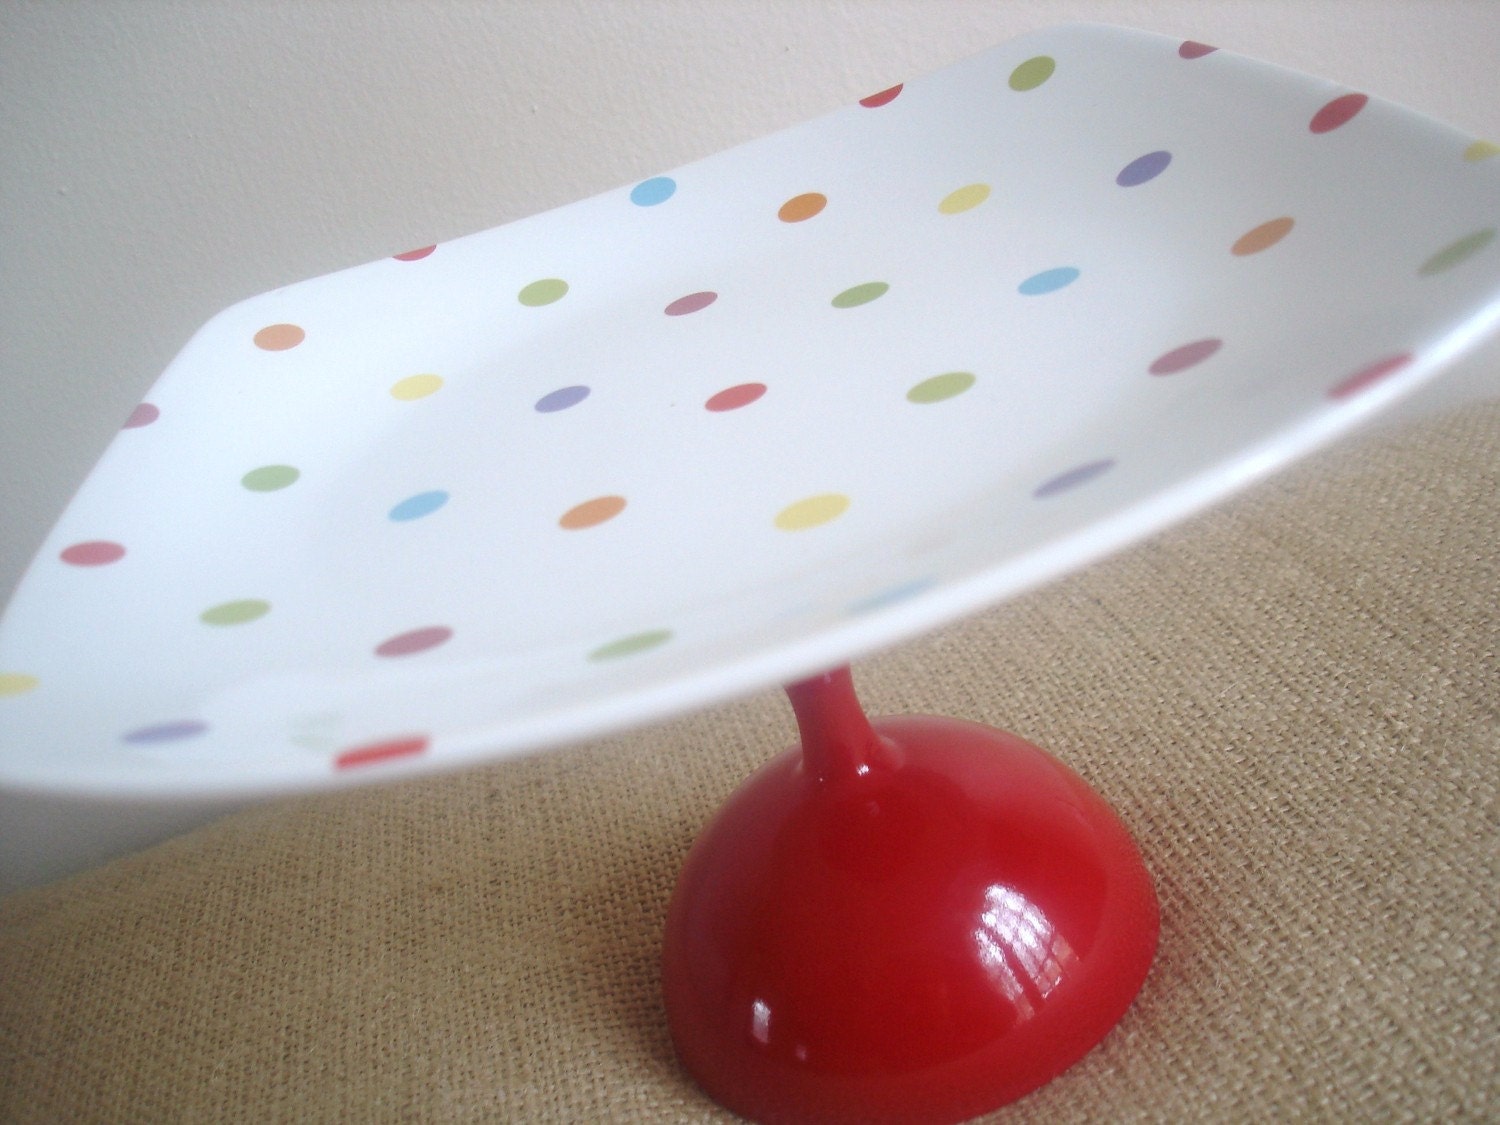
dessert pedestals
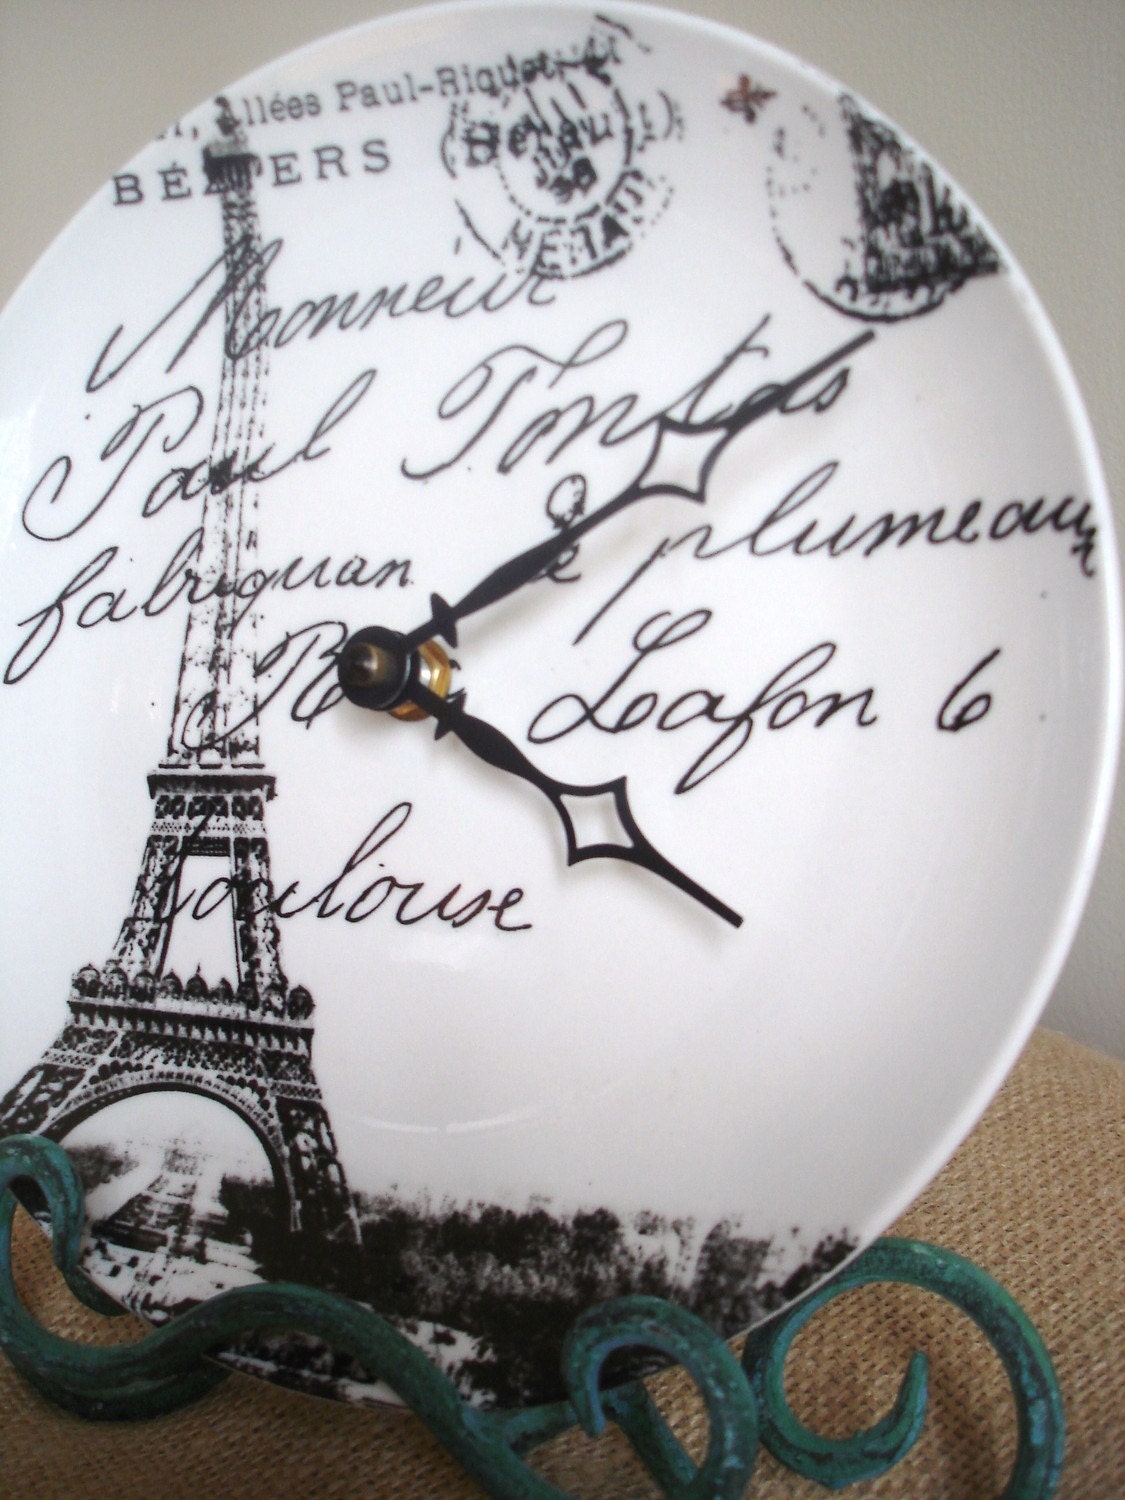
clock plates (there is also a tutorial for these on her blog, here)
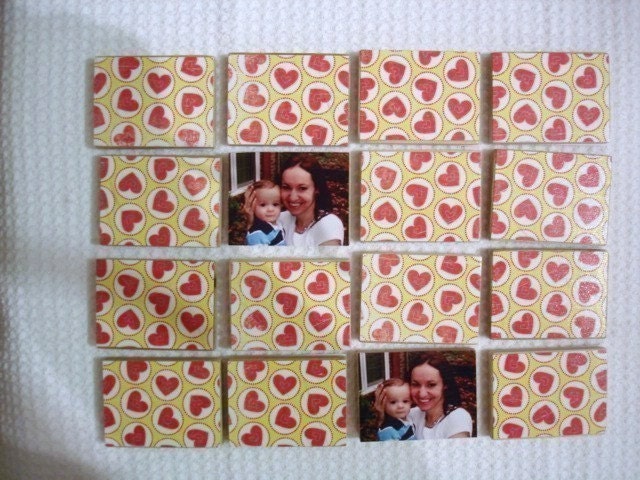
one of my personal favorites - personalized photo matching game. You email her your pics and she puts them on wooden tiles to create a matching game. LOVE IT!
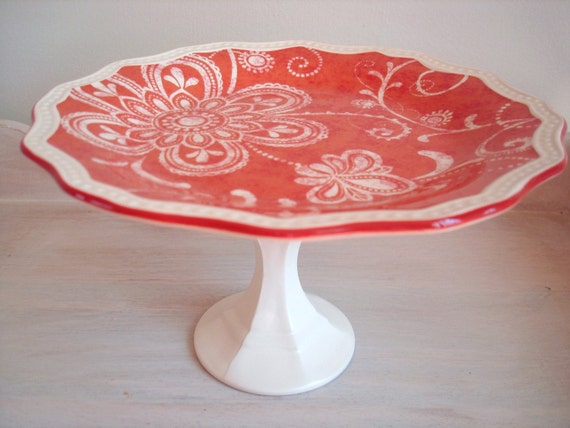
Another favorite of mine - imperfect pedestal. The base slipped during gluing and is slightly off center so Linda is offering it at a discount price (I love discounts!). It's still gorgeous and functional, just not perfect.
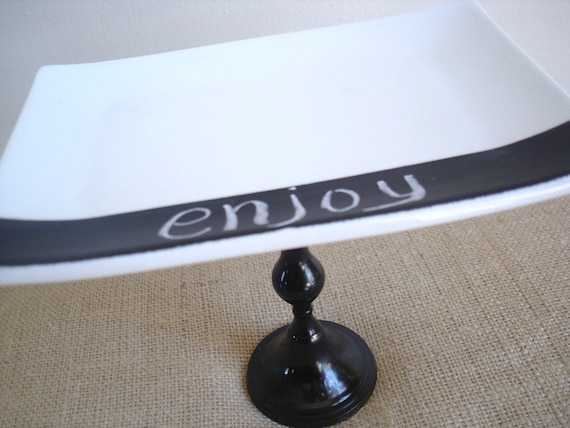
And then there's this chalkboard dessert pedestal
and this beautiful pedestal (but you can't buy it because I want it and that would make me sad).
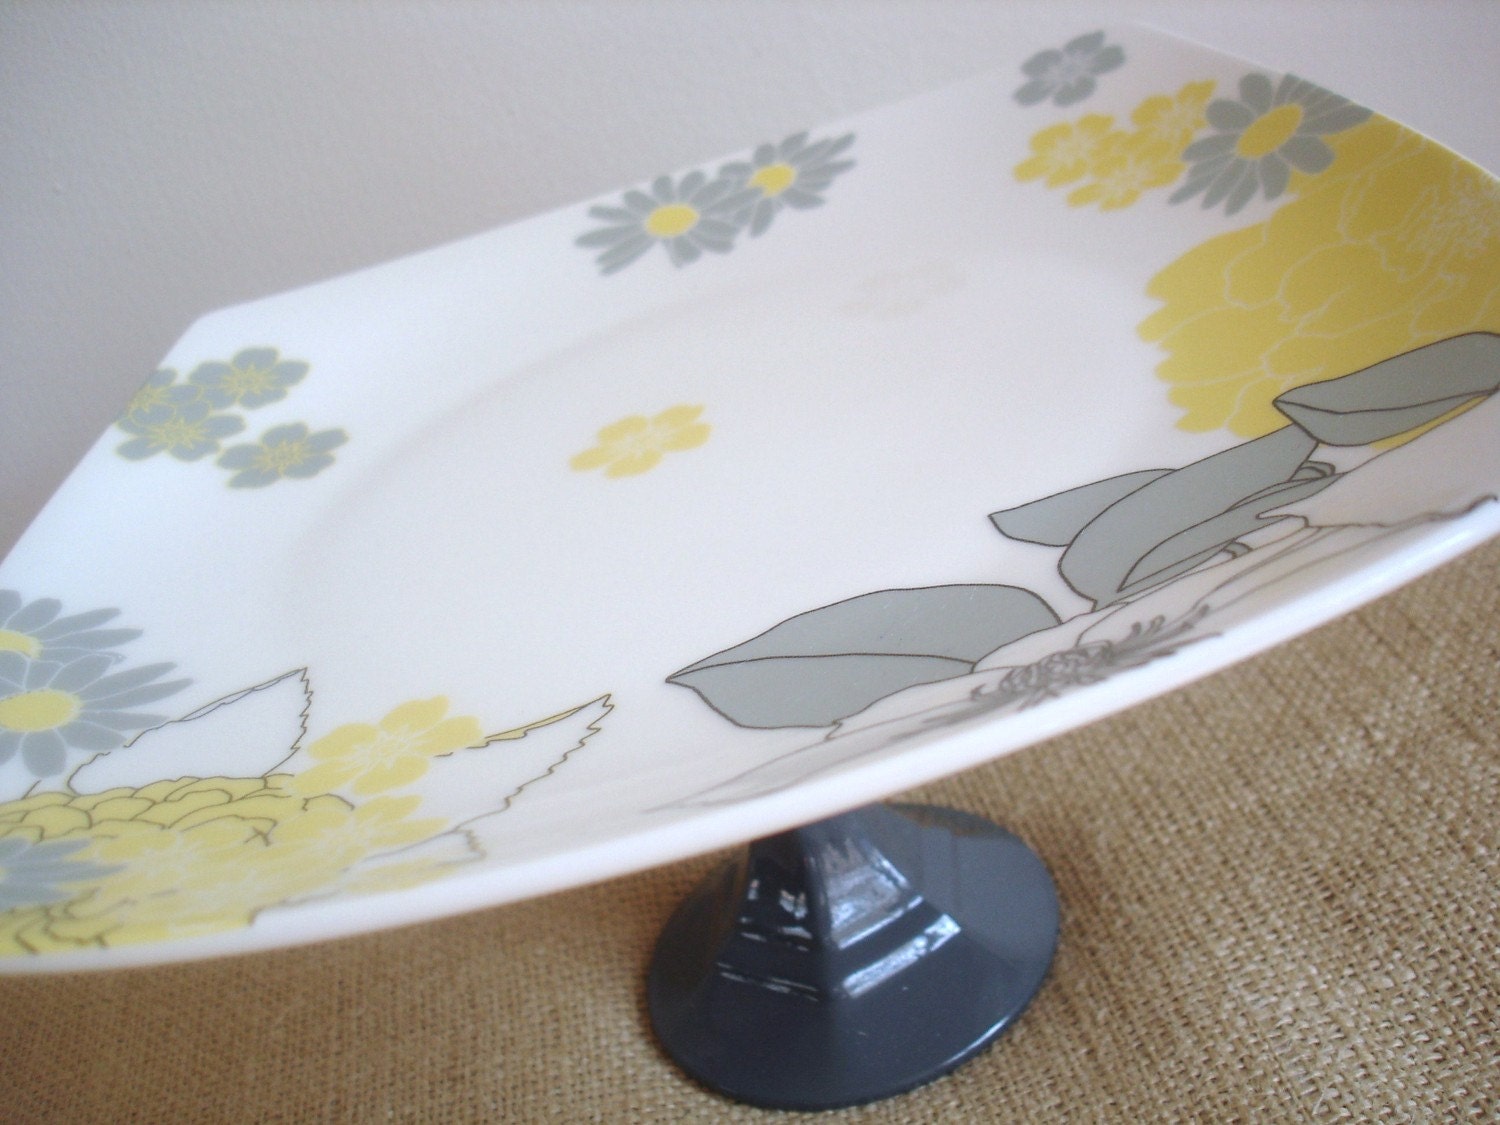
I could go on and on...but I'm sure by now you are dying to enter! Here's how:
- Visit BurlapAndBlue and leave me a comment with your favorite item from the shop!
Want some extra entries?
- Follow Ashley's Craft Corner (I don't usually do this but since this giveaway is because of my lovely followers I'm going to throw it in there). If you already do, awesome, just let me know!
- Follow Linda's blog, Burlap+Blue
Make sure you leave a separate comment for each entry! Also, if your email isn't attached to your profile make sure you leave it in your comments.
This giveaway will close Monday March 14th at 11:59 pm (MST) and the winner will be announced on Tuesday the 15th. GOOD LUCK!
I have a couple of giveaways lined up for this week, so make sure you keep checking back.
Today's giveaway is being brought to you by the lovely Linda from Burlap+Blue. Have you been there? No? Well I'll give you a little taste of what you'll find.
First up is this lovely dresser transformation

and then there is this super easy inspiration board

You'll also find home decor inspiration and etsy finds. Speaking of etsy...Linda also has an etsy shop - BurlapAndBlue and she has so kindly offered a $10 gift certificate to her shop to one of you! I'm a little jealous (ok...a lot jealous). So what will $10 get you from BurlapAndBlue (click pics to be taken to listing)?
fabric flower pins
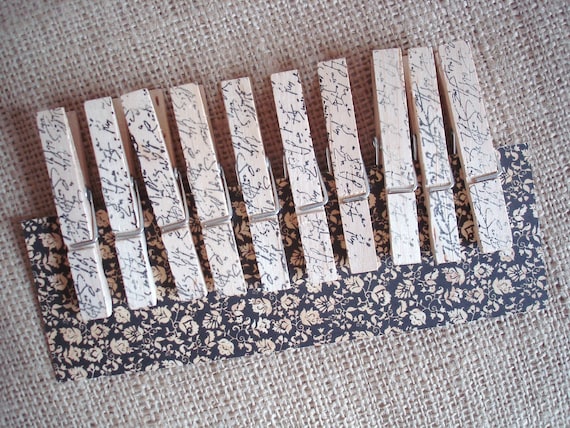
or stamped clothespins.
And if you're feeling a little spendy, you could take the $10 and use it towards something a little pricier (don't worry, currently nothing in her shop is over $40) like these tile coasters

personalized coasters

dessert pedestals

clock plates (there is also a tutorial for these on her blog, here)

one of my personal favorites - personalized photo matching game. You email her your pics and she puts them on wooden tiles to create a matching game. LOVE IT!

Another favorite of mine - imperfect pedestal. The base slipped during gluing and is slightly off center so Linda is offering it at a discount price (I love discounts!). It's still gorgeous and functional, just not perfect.

And then there's this chalkboard dessert pedestal

and this beautiful pedestal (but you can't buy it because I want it and that would make me sad).

I could go on and on...but I'm sure by now you are dying to enter! Here's how:
- Visit BurlapAndBlue and leave me a comment with your favorite item from the shop!
Want some extra entries?
- Follow Ashley's Craft Corner (I don't usually do this but since this giveaway is because of my lovely followers I'm going to throw it in there). If you already do, awesome, just let me know!
- Follow Linda's blog, Burlap+Blue
Make sure you leave a separate comment for each entry! Also, if your email isn't attached to your profile make sure you leave it in your comments.
This giveaway will close Monday March 14th at 11:59 pm (MST) and the winner will be announced on Tuesday the 15th. GOOD LUCK!


